How to make the best Overnight Oats – 3 healthy and rich topping ideas
The best overnight oats recipe does exist and you are just about to read how to make it, which ingredients why I choose them and some of the many variants you can do with simple and seasonal ingredients.
This recipe will be added to your favourite ones to eat for breakfast, snacks and dinner. When I first discovered the creaminess, healthiness and also simplicity of preparing it, I decided to make it one of my ideal breakfasts.
Overnight oats have also big practicality to be not only easy to make but also can be prepared in advance (not necessarily overnight) and in bulk; this is because their high preserve characteristic makes them stay for up to 5 days when stored correctly, at the right temperature and correct precautions.
So get your creativity together as we will start to make this simple, tasty and healthy breakfast to prepare in advance and to consume at the beginning of your day, starting your journey with some sweet and kind tastes and with most of the macro and micro-nutrients you will need to please your mind, soul and body.
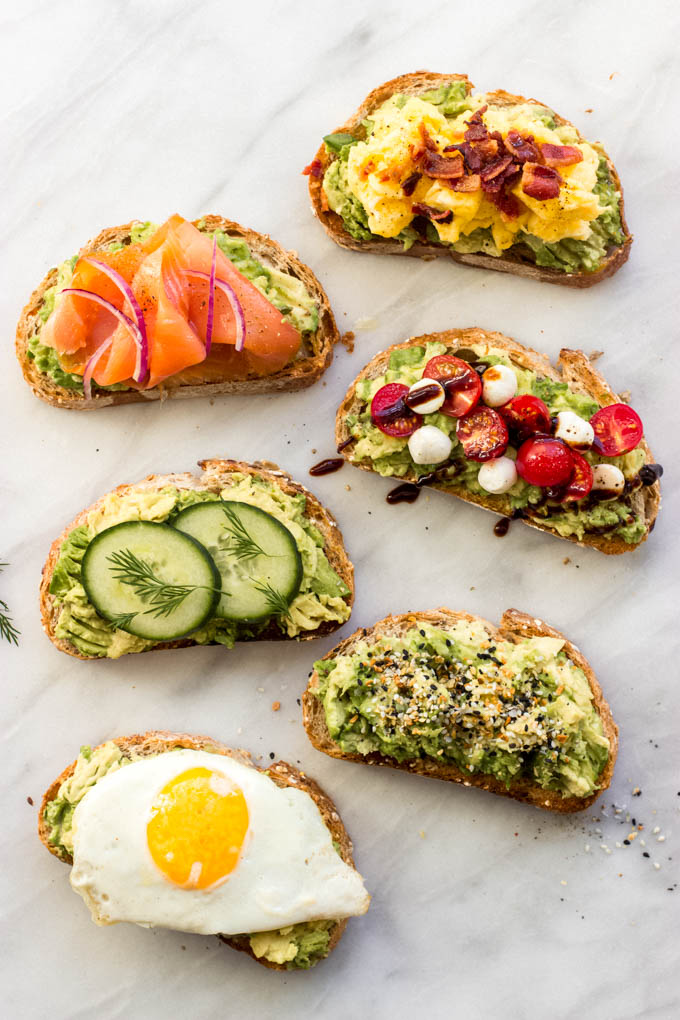
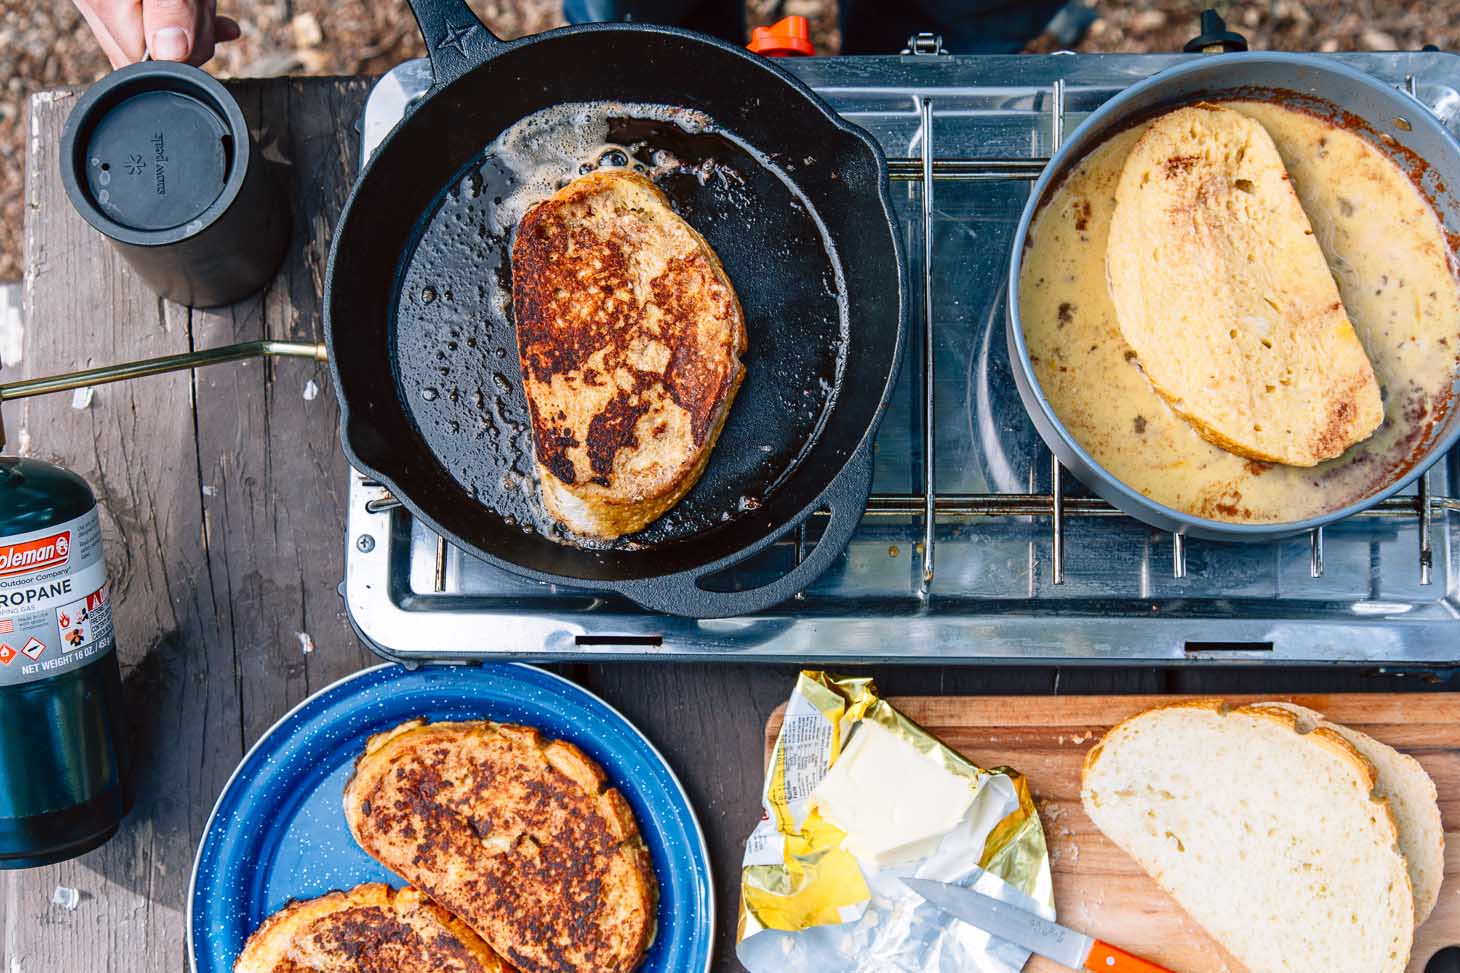
Out for a camping/hiking weekend? No worries, you can take this breakfast with you, ready from home without the need to take a lot of ingredients on your trip. Check also other “easy camping breakfast” ideas to add to your journey
Health benefits of overnight Oats
Have you ever heard about Overnight Oats or Bircher Muesli? In case you haven’t these are fantastic ways to consume oats, without the need to cook them on a stovetop or microwave; giving you extra time for yourself during the morning and still enjoy the goodness of this tasty breakfast.

Let’s take a closer look at the health -and not only – benefits of this meal:
- Their high nutritional value, not just provides a good amount of fibre, protein and antioxidants, but oats itself also contain a wide range of vitamins and minerals that promote a happy gut.
- The soaking process of the oats breaks the starches down and reduces phytic acid making them easy to digest and to absorbs their nutrients.
- Contain a high amount of resistant starch that helps you to fill fuller for a longer time, making the overnight oats a good weight loss (and control) breakfast choice.
- Time and money saver as the main ingredient you are going to use is cheap and you will only need 5 minutes to prepare and store the jars for the day after.
- You can get as creative as you want to make them.
Overnight Oats Ingredients
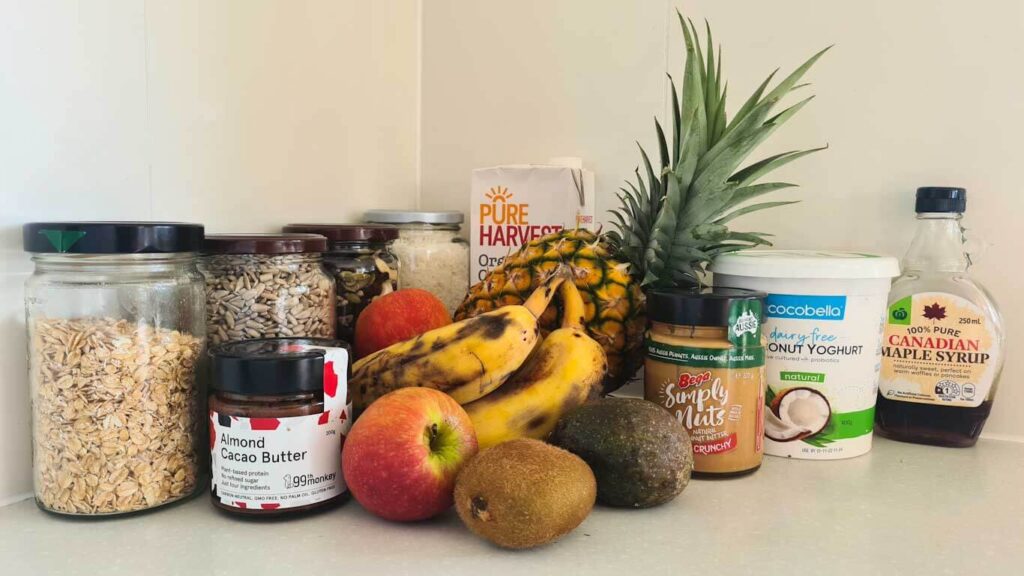
1 Oat: The first ingredient to make overnight oats, are the oats themselves. Steel-cut oats are the best and healthier choice, but they seem to be difficult to find in every shop and for this recipe, they won’t provide the best consistency; tho you can opt for rolled organic oats to obtain a better texture.
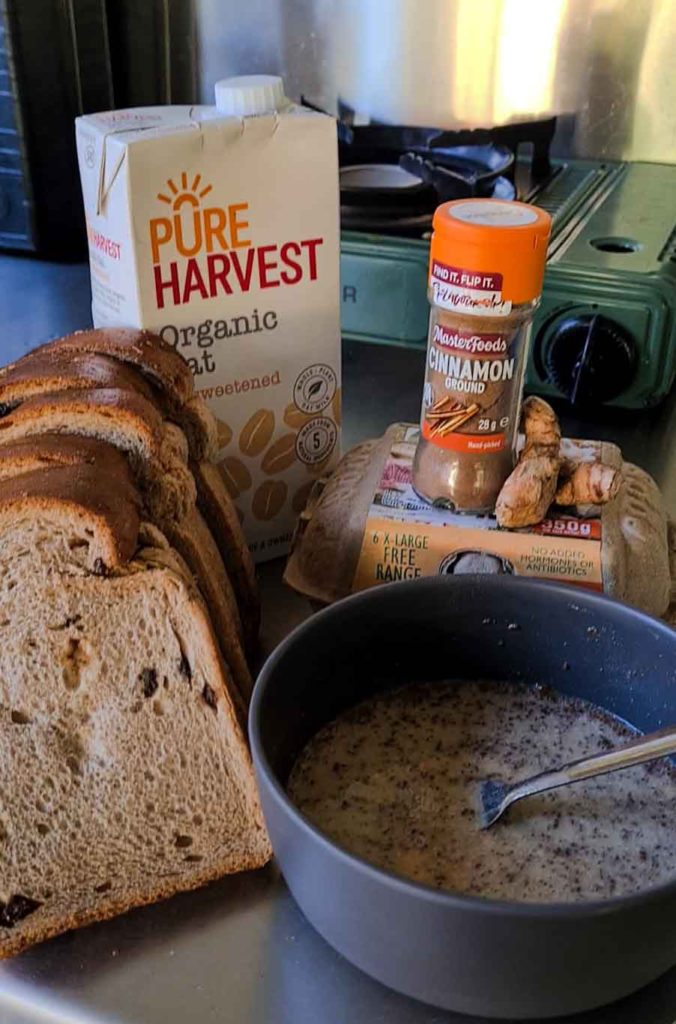
2 Milk: Any milk will be fine with this recipe, I have used oat milk as my favourite for a long time but soy milk, coconut milk and almond milk are perfect too. In case you want a lighter breakfast use water as the liquid part.
3 Chia seeds: Full of good nutrients these seeds can give an extra hint to the texture and definitely provide all the rest of their benefits.
4 Coconut yoghurt: My overnight oats recipe contains vegan coconut yoghurt, the flavour is so good and will boost protein and give your breakfast the best creaminess you’ll need. Even here you can use your favourite yoghurt, better if you opt for a thick one.
5 Nut butter: It is completely up to you which one to choose, almond butter, peanut butter or others will make the overnight oats taste just so good and healthy.
6 Maple syrup or sweeteners: Honey or maple syrup are nice sweeteners to be used if you looking for a sugary taste.
7 Toppings: Here is where you create your favourite taste, from seasonal fresh fruits, dry fruits and nuts, to spices (such as nutmeg, cinnamon and cardamom), flavours and chocolate. If you keep reading, I will tell you my favourite ones so you can indulge in them. Now, let’s get crazy and creative!
How to make it
So easy to make that you won’t need to make any extra equipment dirty, in fact, all you will need is a tablespoon, the jar or glass where you will make and store the overnight oat and a knife to cut the fruit of your choice.
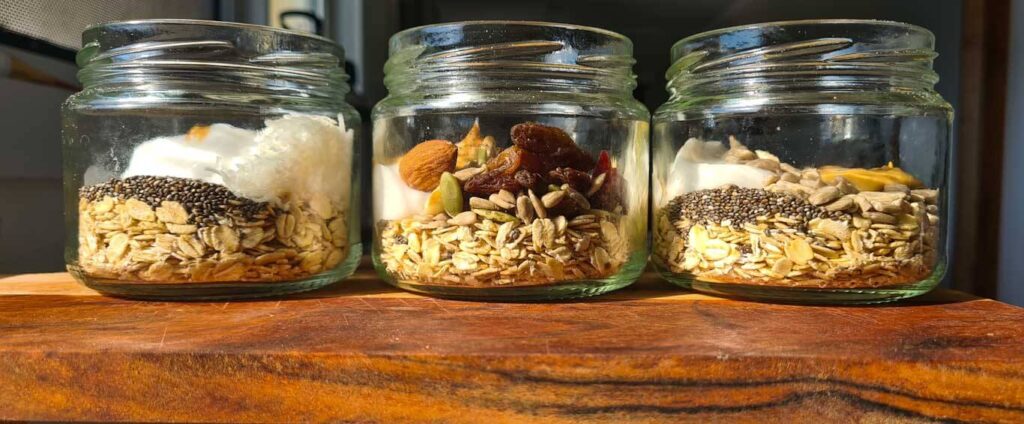
Combine in a jar the rolled oats with chia seeds, your favourite yoghurt and the sweeteners; add then the milk and the nut butter of your choice and stir the mixture until the texture is smooth and creamy and no lumps seem to appear.
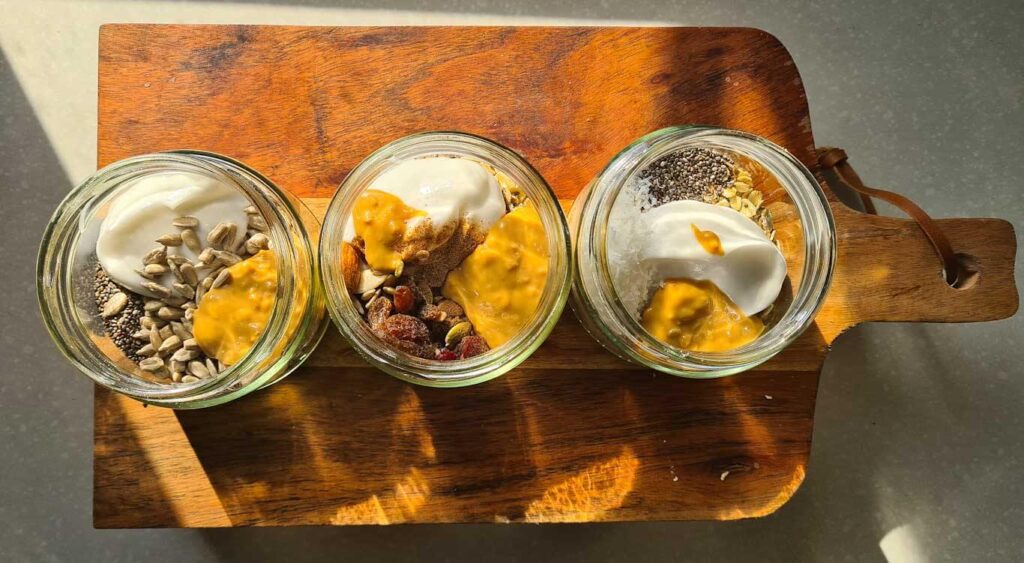
When this is well mixed you have the option to make it fully ready for the day after straight away, by laying the diced fresh fruits, nuts and other flavours; or to store it with a lid in the fridge and add the topping the following morning.
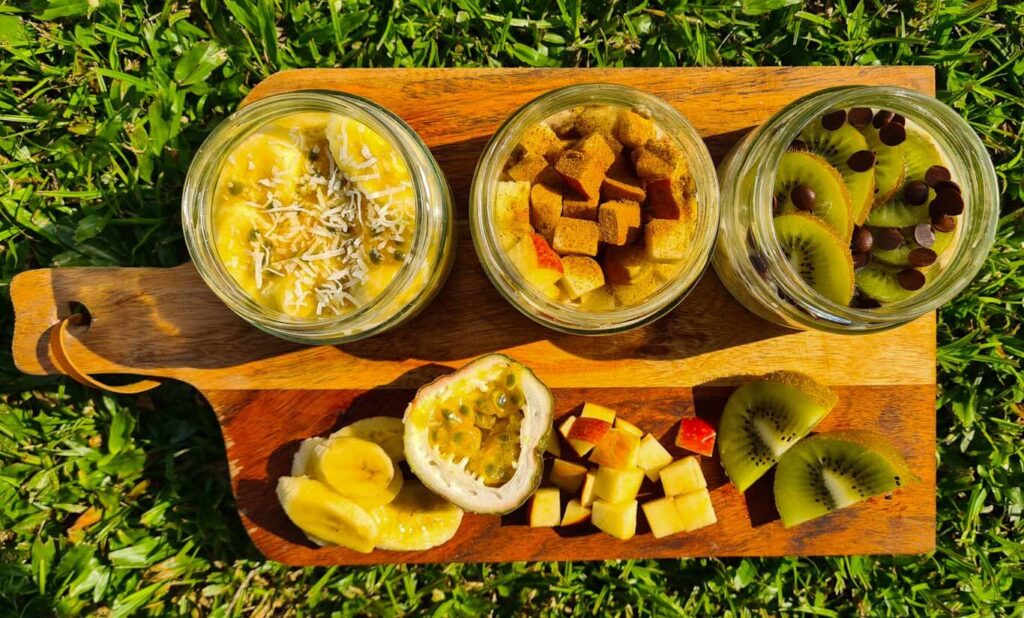
Best Overnight Oats Ideas
Here are some of my favourite overnight oats ideas, but the enormous amount of different flavours you can have will drive you crazy.
Don’t forget to use seasonal and even better organic and local fruit. Farmer’s markets are some of my favourite places to shop for these as you can buy healthier, not necessarily imported, cheaper ( sometimes) ingredients and you help support small businesses and family-owned farms. Don’t forget your reusable bag.
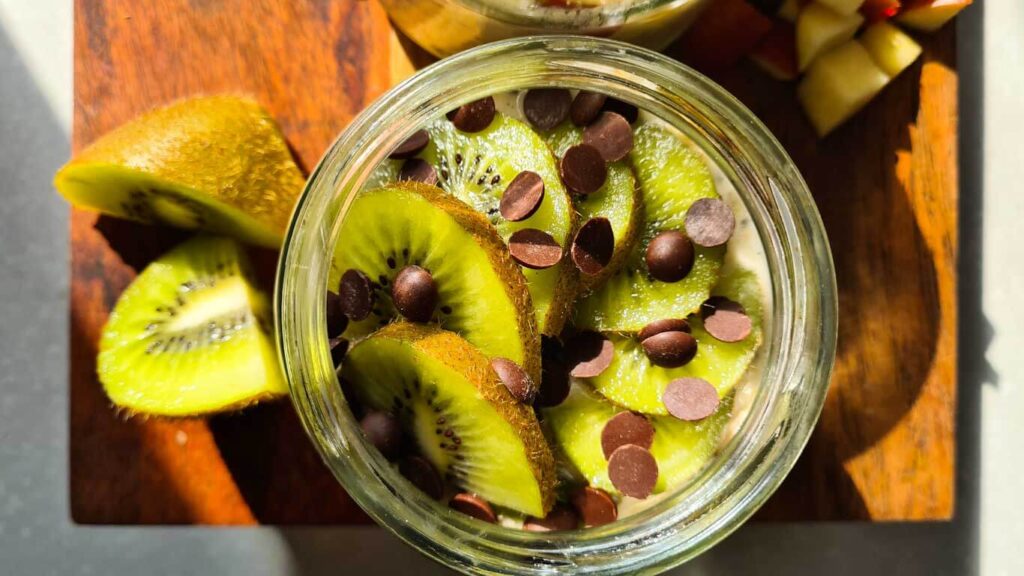
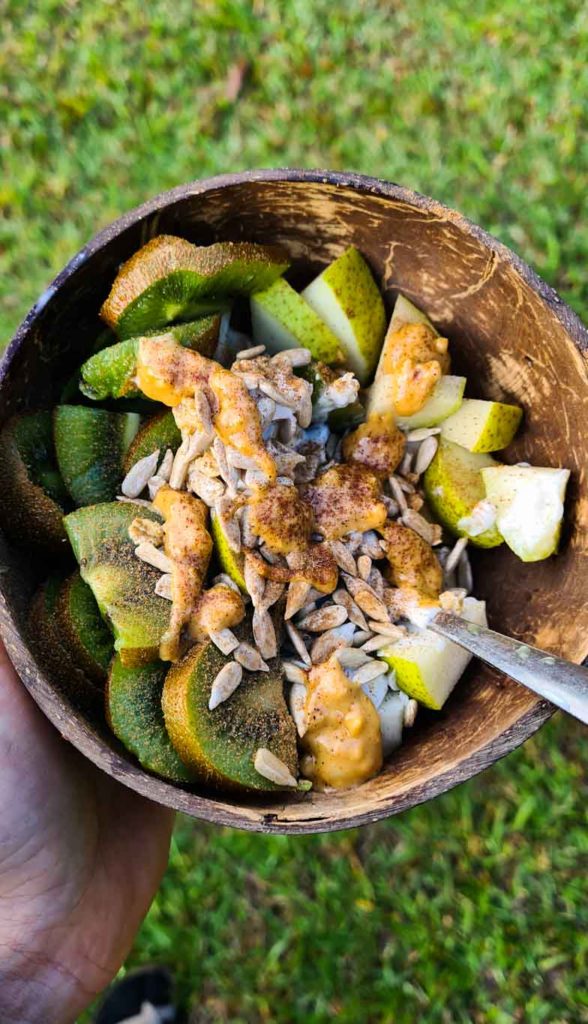
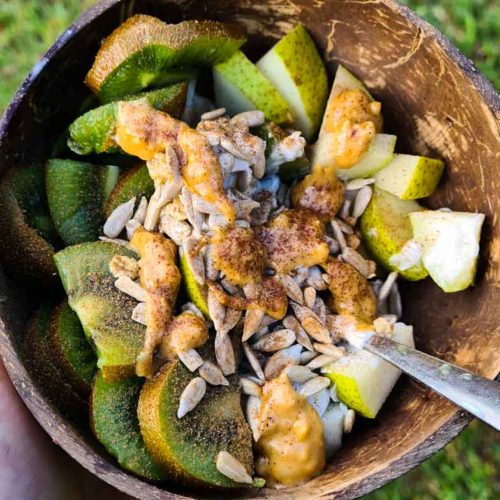
Kiwi and dark chocolate: One of my favourite fruits is kiwi, not only for the taste but also the high nutritional value and benefits of these “berries” make them even more enjoyable to your gut too. Yes, if you want to boost nutrient intake you can eat the skin too. Add dark chocolate or other of your choice and sunflower seeds.
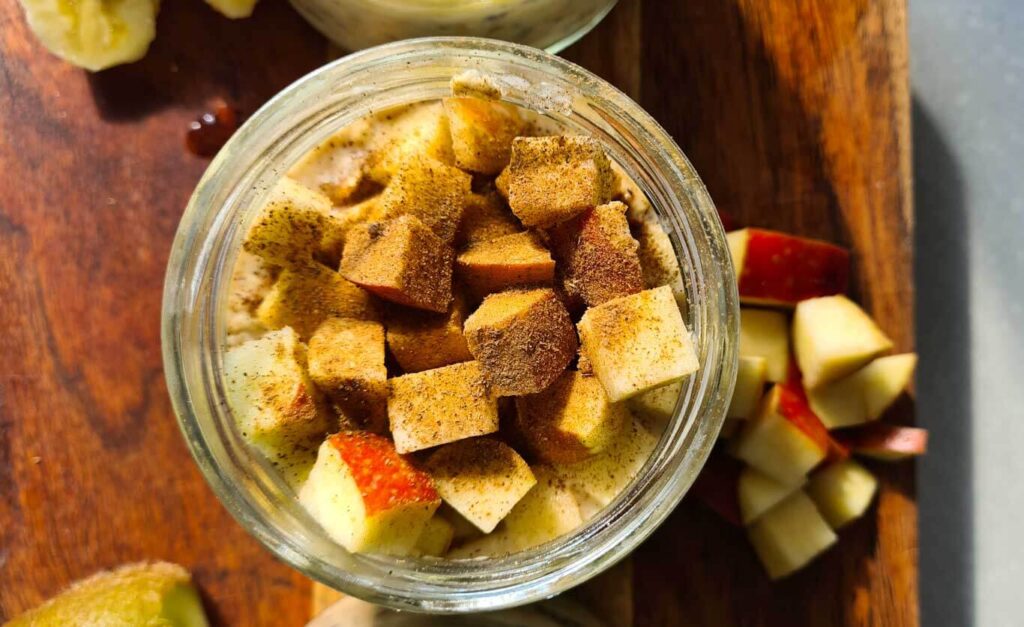
Apple pie: I love this one! Dice the apple and mix it with plenty of cinnamon powder and chopped walnuts (or mixed nuts) to recall the baked apple pie. Little tip: caramelize the apple on the pan if you want an extra nutty and bake flavour. Eat it warm or hot, it will give you the right cosy hug you need in autumn morning.
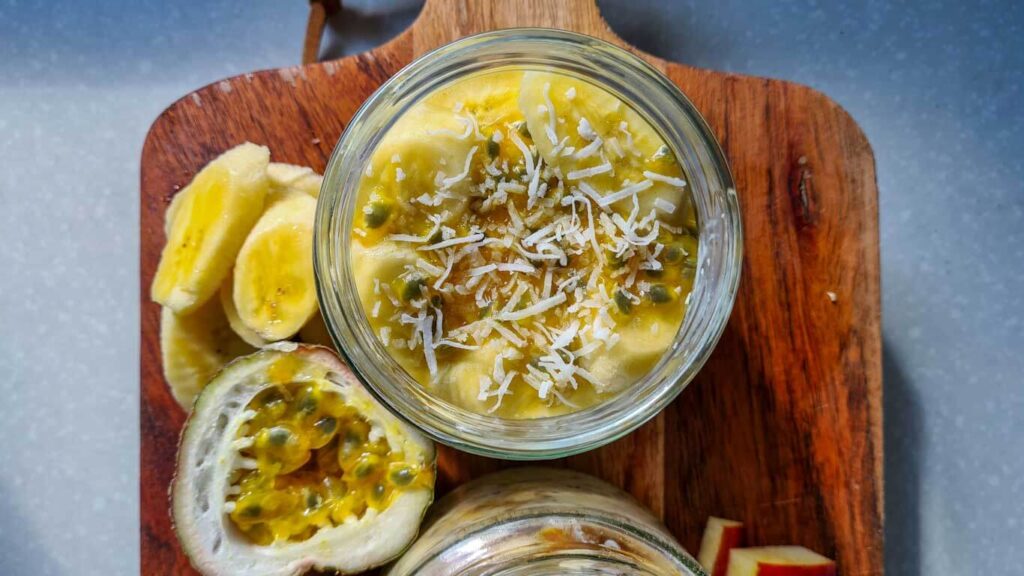
Tropical experience: Since I am living in Tropical Queensland at the moment, I could try some of the best tropical fruits. Fresh, local and so sweet. Definitely, the best mix will be pineapple, bananas and passion fruit. But get crazy here if you have more of these available; mango and papaya for example. Sprinkle some dehydrated roasted coconut and sink into pleasure.
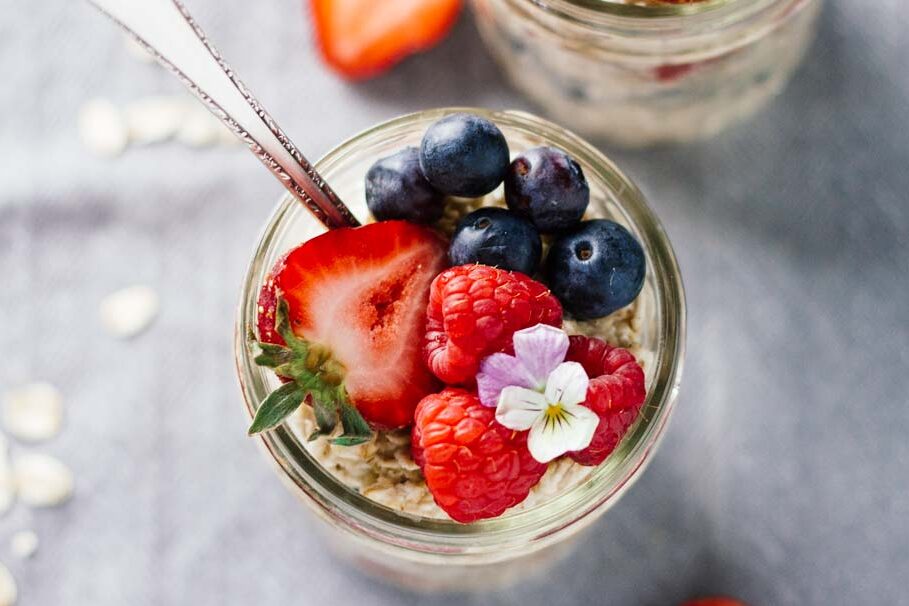
Berries joy: Fancy some berries? The crazy amount of antioxidants in these kinds of fruit will only do good to your body and soul. Raspberries, blueberries and blackberries are only some of them to use. Feel free to swap one with another or to use the dry-freeze one too (the concentration in flavour they have is a bomb for your taste buds).
Easy Overnight Oats
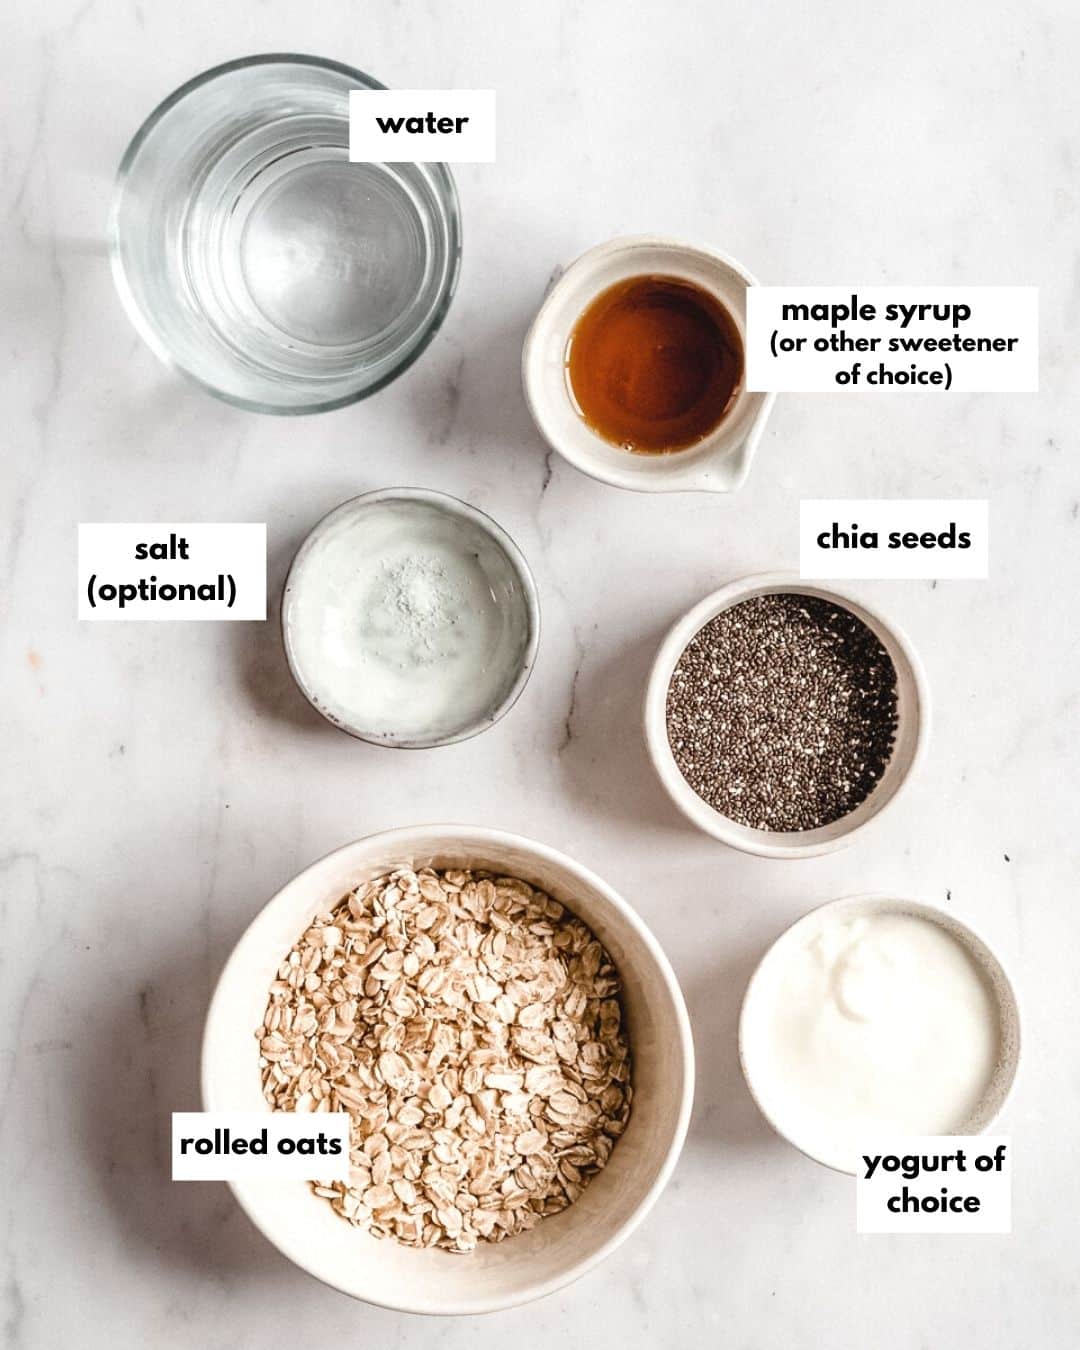
Ingredients
- ½ cup Organic Rolled oats
- ½ cup Oat milk or any of your choice
- 1 tbsp Coconut Yoghurt
- 1 tbsp Chia seeds
- 1 tbsp Maple syrup
- 1 tbsp Peanut butter
Kiwi and dark chocolate
- 1 Kiwi
- 1 tbsp Dark chocolate chips
- 1 tbsp Sunflower seeds
Apple Pie
- 1 Pink lady apple
- 1 tsp Cinnamon powder
- 1 tbsp Chopped walnuts
Tropical experience
- ½ Banana
- 1 tbsp Dehydrated coconut
- 1 Passion fruit
Berries joy
- 1 tbsp Blueberries
- 1 tbsp Raspberries
- 1 tbsp Blackberries
- 1 tbsp Pumpkin seeds
Instructions
- Place the main ingredients in a glass or a bowl, mixing well to make sure the yoghurt dissolves without leaving any lumps.
- Cover the container and store it in the fridge for at least 3 to 4 hours, to let the wet ingredients absorb all the dry ones.
- Choose your topping and lay them on top of the stable mixture.
- Cover the jar or glass again to store the oats overnight.
- Enjoy the best and easy breakfast the next day.
Notes
How to store Overnight Oats
Storage methods and time come so easily with this simple recipe. Luckily the overnight oats can be made in advance, so you will be able to prepare your weekly breakfast in one day only and store it safely in the fridge.
Either you have single-dose glasses, or you prepare them in a container and scoop the mixture into a glass every time; I bet you will still have time to get ready in the morning without rushing.
Five days are more or less the edge of the shelf life for the overnight oats but, always keep in mind to use your senses to understand better whether they are still good or not. If you prepare them in advance, skip the toppings for the late days, as the fruits and nuts won’t stay so fresh for very long.
If you try this healthy and tasty recipe let me know what you think by leaving a comment and telling me your favourite topping. I am curious about others taste and I can’t wait to try more to share it with you. Enjoy this awesome overnight oats recipe.
How to make the best Overnight Oats – 3 healthy and rich topping ideas Read More »