
A vegan in Rome: 10 places to eat vegan food in Rome you souldn’t miss! Like a local edition
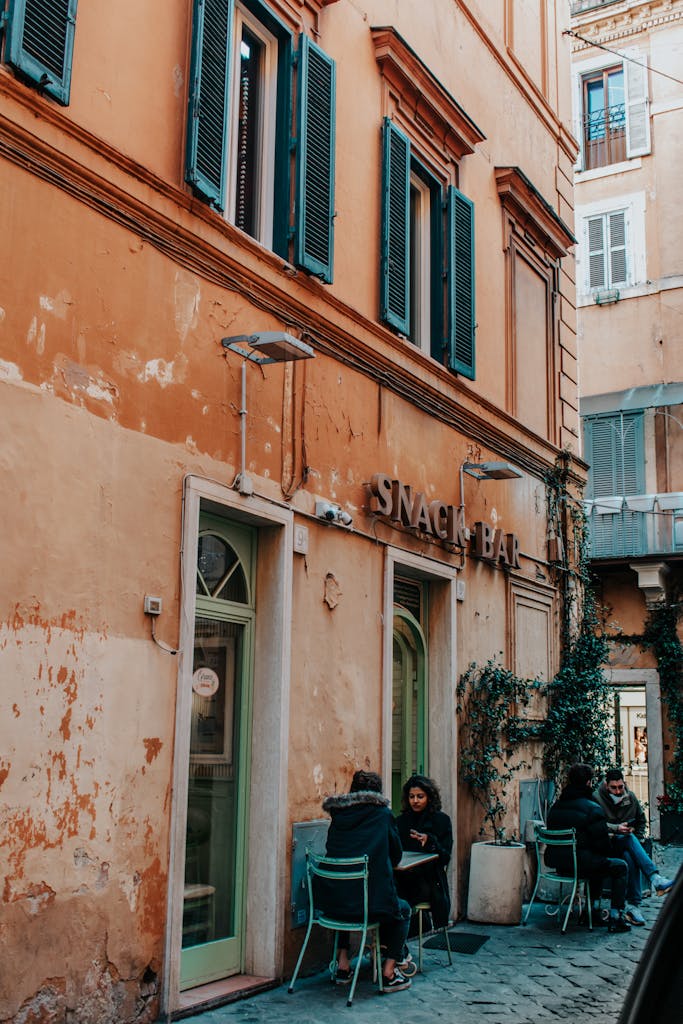
Rome, Rome, Rome.. It is one of the cities of Europe where you can eat amazing food in most corners of its streets. Getting lost around Rome can be a pleasure sometimes, especially when you end up next to a “Pizza al Taglio” shop, gelateria, local food store and of course the distinguished monuments and bridges.
Carbonara, Amatriciana, Suppli, gelato, and much more come to mind when you’re planning to go to Rome.
But how about being a Vegan in Rome? Do vegans have options when it comes to eat proper Italian, tasty, and quality food?
All these questions are finally answered: YES, VEGANS CAN EAT DELICIOUS FOOD IN ROME! Because I promote a vegan diet, I decided to give you the best 10 places to eat vegan food in Rome.

Is Rome vegan-friendly?
Let me give you a short story based on my experience. Since 2013, I embraced a plant-based diet, reducing drastically the consumption of meat, especially, and fish. By 2015 I became a pescetarian but always preferred vegan sources and around 2021 I’m embracing a vegetarian diet, with very little consumption of dairy products and eggs.
This was a struggle sometimes when I had to go to a restaurant back in Rome (in London, where I was living at the time, vegan options were already vast). Being a vegetarian or vegan in Rome was a bit complicated, and could happen, I was eating tomato sauce pasta, side dishes with vegetables and bread.
From 2022 to 2024, I was living overseas without ever going back to Rome during this time frame. Finally, in spring 2024 I got to breathe the air of my home town, Rome. This is when I started to discover all the new vegan restaurants in Rome.

Is Rome vegan-friendly? Yes, finally! Rome achieved second place in the ranking of: European cities with a majority of vegan-friendly options.
A vegan in Rome
Italians love their traditions, and still, unfortunately, some feel offended when you want to make a Carbonara or Tiramisu vegan-friendly.
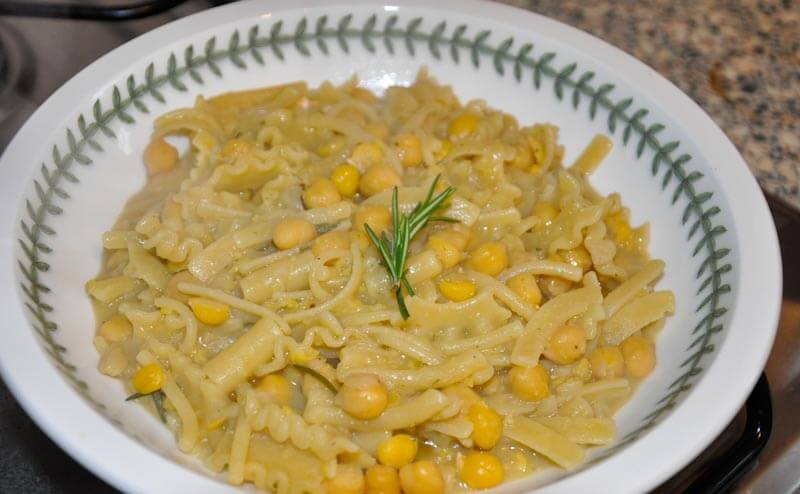
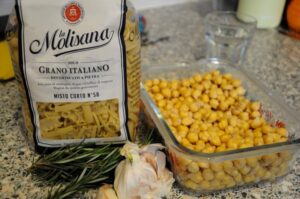
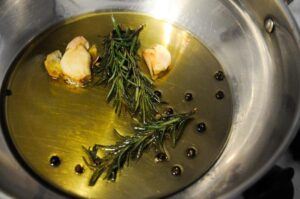
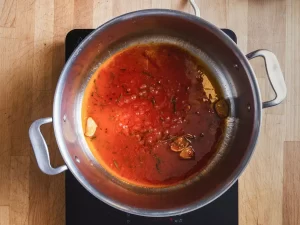
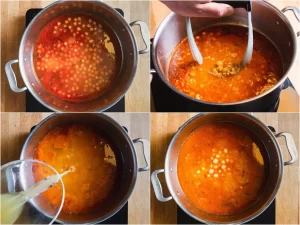
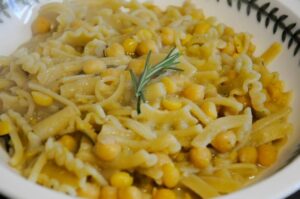
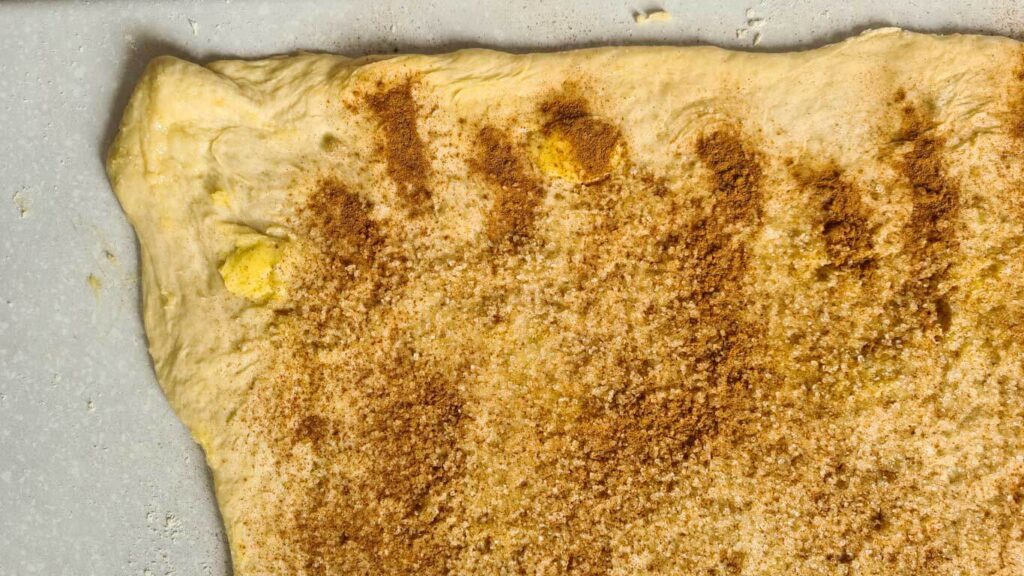
Let me tell you something: there are thousands of traditional Italian recipes that are naturally vegan. This pasta and ceci recipe (chickpeas) is an example. When I talk to my grandmothers, they would always tell me that at their time the consumption of meat was much lower and they were getting their proteins from plant ingredients. With time, the economic boom of the ’70s, industrialization and (I would say) the American dream, meat consumption grew crazy in Italy too. Until it became a kind of statement of wealth and health, and the old plant-based diet was put in the corner for a long time.

Luckily, today veganism is becoming bigger and either for a trend or for being healthy and caring about the planet and the animals, there are many more people interested in a plant-based diet. So do Romans.
10 Vegan restaurants in Rome
As a local, a food lover, and also a Chef, I decided to give you my favourite 10 restaurants, bistros and pastry shops to try around Rome as a vegan. Based on my personal experience and my friend, who is based in Rome and moved to a Vegan diet recently, I could collect some of the best vegan restaurants.
These are entirely vegan places where you can eat traditional Roman and non-traditional food, to vary your choice during your stay in Rome. So make sure to save it for your next visit to the eternal City.
Rifugio Romano
Rifugio Romano restaurant is situated in the Esquilino quarter of Rome, next to Termini train station. Open since 2016 as a traditional Roman restaurant with non-vegan and vegan options. Rifugio Romano, finally, in 2023 switched its menu fully and became a vegan traditional Roman restaurant. MAKE YOUR BOOKING IN ADVANCE.

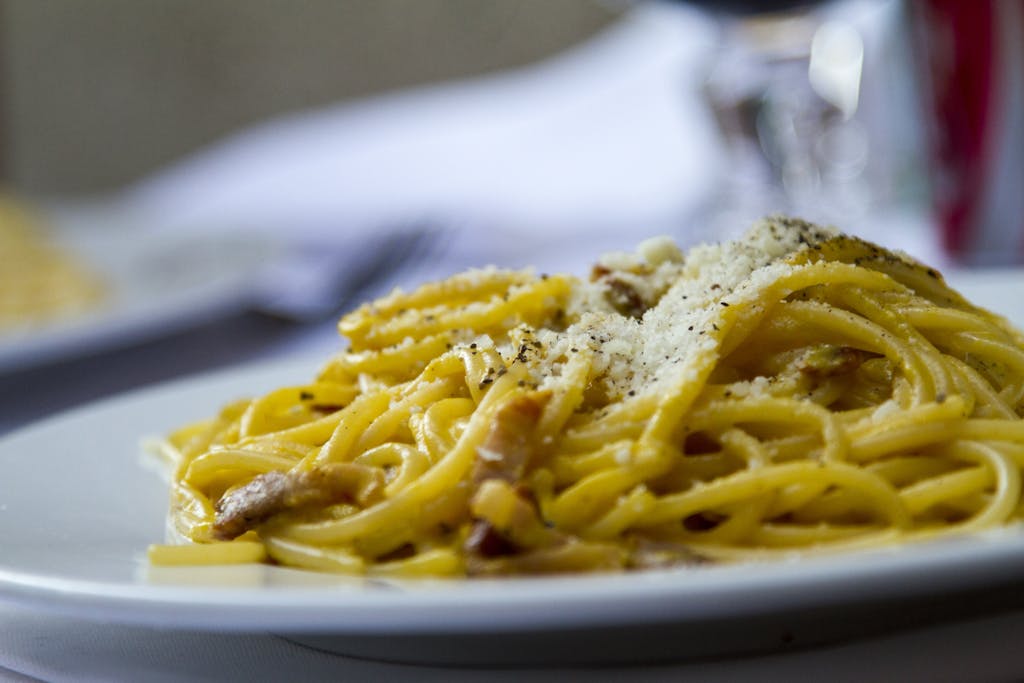
You are now without worries to try: Carbonara, Amatriciana, Saltimbocca alla romana, Cannelloni, Cacciatora Seitan, (not)Pollo alla romana. Every dish on the menu is vegan, and it recreates what Roman dishes are: full of flavours and texture, mouthwatering and unforgettable. They also have Pizzas!
Where: Termini area | Via Volturno, 39/41, 00185 Roma RM, Italia
When: Tuesday to Sunday, from 11 am to 11 pm
Romeow cat bistrot
Romeow cat Bistot opened as a cat Cafè in 2014. Traditional Italian and international cuisine is what you will find on the menu. Vegan and raw options are offered, all surrounded by nine beautiful cats. The vibes are chill, the atmosphere is cosy and relaxed, and the food is an explosion of fresh and tasty ingredients. Their attention to seasonal ingredients is high, and this is why the menu changes every 3 months.
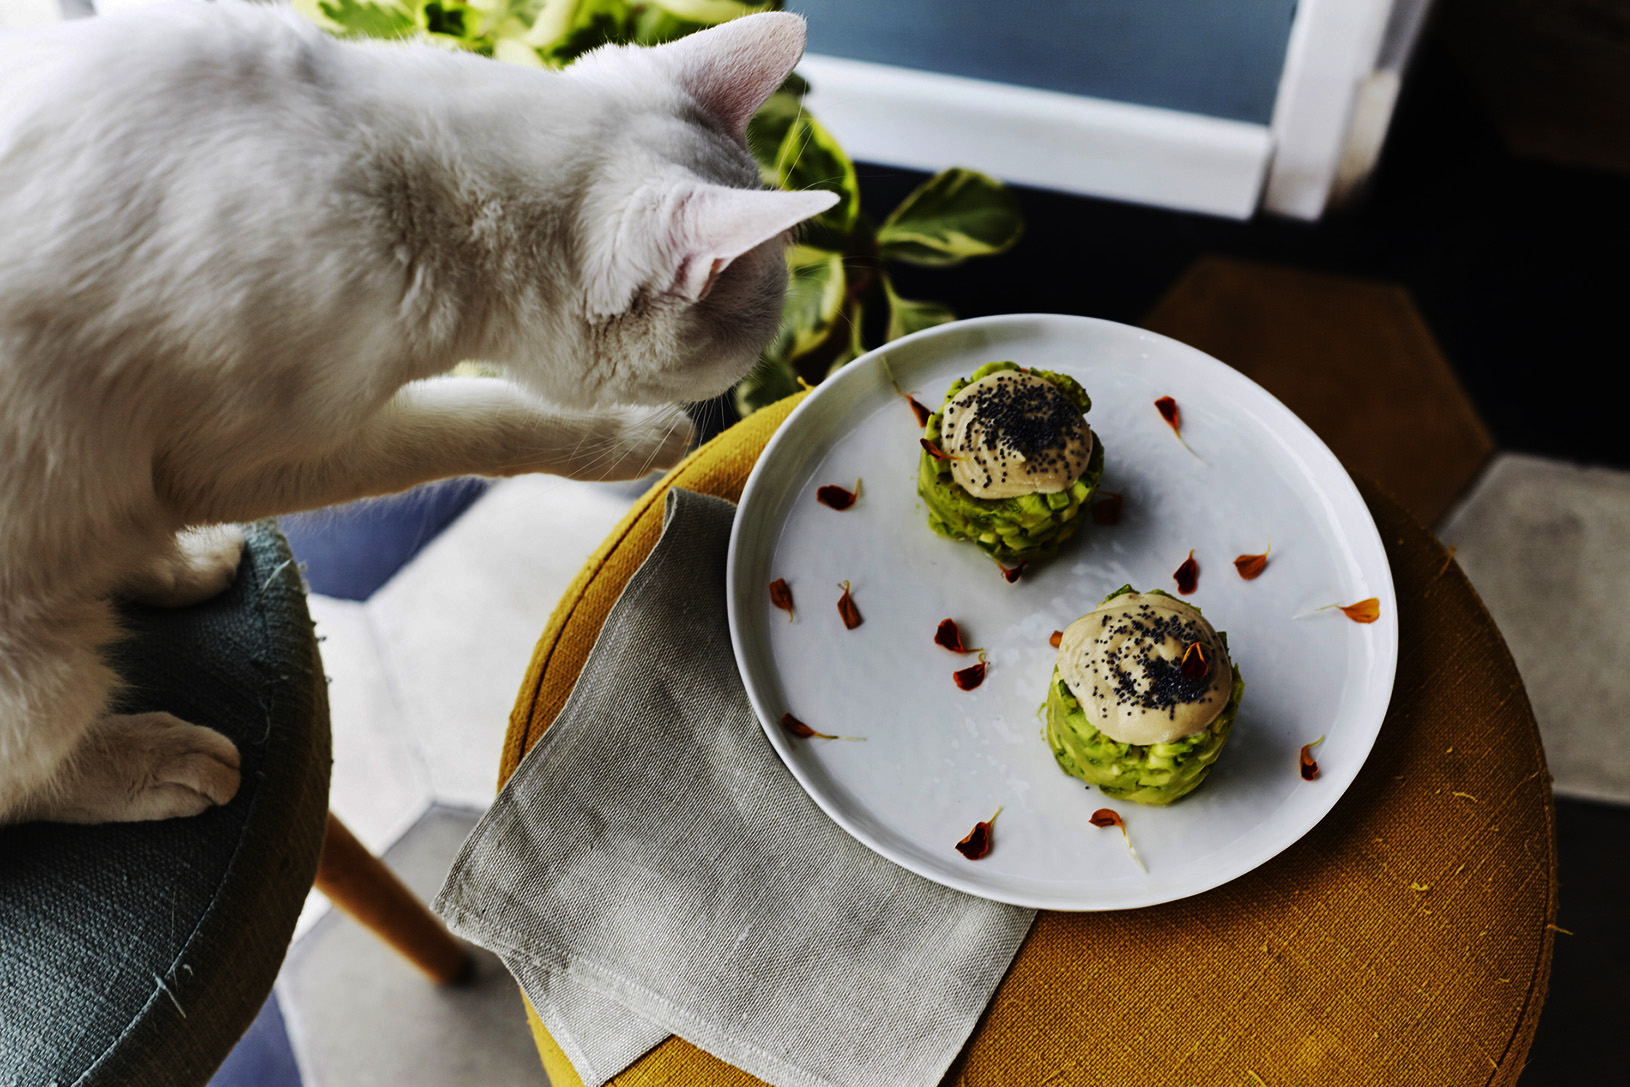
Make sure you book your table in advance because there are not so many seats and Romans do love this place. And don’t forget to try …
Where: Piramide area | Via Francesco Negri, 15, 00154 Roma RM, Italia
When: Tuesday to Sunday, Breakfast 10–11:30 | Lunch 13–14:30 | Happy hour 16–18:30 | Dinner 20–22
Julietta Pastry & lab
The love for cooking for others, and the love for making someone feel comfortable, happy and satisfied made Valentina (the owner of Romeow) feel like she wanted to offer more than Romeow Cat Bistrot. In 2023 Julietta Pastry and Lab opened next to the Bistrot. Julietta Pastry and Lab is a fully Vegan and Organic shop. Finally, you can have your Croissant, Pain au Chocolate, that beautiful and delicious Banoffee Pie and much more.

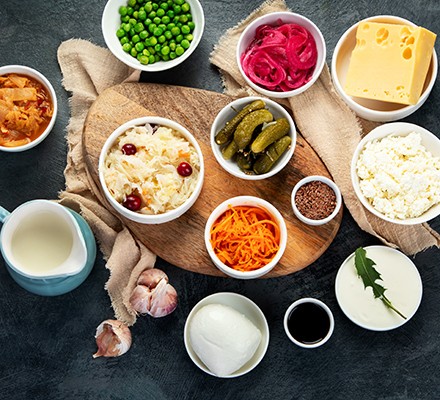
Not only do they offer all the tasty (and wonderful to look at) sweet pastry, but they do plenty of savoury options to shops and take home: vegan cheese, homemade fermented vegetables, seitan, tempeh and much more. YOU HAVE TO GO HERE, trust me!
Where: Piramide area | next door to Romeow | Via Francesco Negri, 25/27, 00154 Roma RM, Italia
When: Wednesday to Saturday, from 9.30 am to 7 pm and Sunday from 9.30 am to 5 pm
La puntarella pazza
A little outside the city centre of Rome, another vegan-friendly restaurant is to try since you are here. Are you willing to see Rome’s seaside? Then this is where you should stop and eat, perhaps after you visit at the Archeological Park of Ostia Antica. Puntarella Pazza is a Vegan restaurant that offers traditional Roman dishes in a Plant-based variety.

Cacio e pepe, Pasta e fagioli, polpette (meat-less-ball) and all the different Pizza. Try as much as you can fit in your belly, you won’t be disappointed at all. Don’t worry about the digestion, Ostia seaside is a good place for an evening walk!
Where: Ostia area | Piazza Vega, 10, 00122 Lido di Ostia RM
When: Wednesday to Sunday, Lunch 12.30 pm to 3 pm | Dinner 7 pm to 10.30 pm and Tuesday 7.30 pm to 10.30 pm
Al Pachino
I love this name! Al Pachino is another Vegan-friendly Pizzeria in Rome. They are focused on Pinsa, Fritti, aperitivo and much more. Simple yet delicious and fully plant-based menu, keeping the traditions strong but giving importance to innovation.

Very important to know: the two owners of Al Pachino have their own brand of plant-based product too, Veggyamo. So when you come here to try the main dishes, such as the “Trippa alla Romana” (Roman-Style fake tripe), or “Cinghiale in umido” (Stewed fake wild boar) if you fall in love with the product you can buy, take them home and cook it every time you desire. I think this is amazing!
P.S. Pachino in Italian are the cherry tomato.
Where: Tufello area | Via della Bufalotta, 124, 00137 Roma RM
When: Monday to Saturday from 7.30 pm to 11 pm
Colors vegan Sushi
Being vegan in Rome doesn’t necessarily mean sticking to every single meal with traditions. Let’s face it, the majority of people around the world love Pizza and Sushi. And Italians too, that is why Colors Vegan Sushi is a big yes for most of the locals. Finally, you can have all the sushi you want and not be afraid that mayo is non-plant-based.

Colors Vegan Sushi is the first sushi restaurant in Rome in its genes and you have to try it. Vegan Salmon maki, tofu gunkan, fake tuna uramaki and much more to fall in love with.
Where: Ostiense area | Via del Gazometro, 30, 00154 Roma RM
When: Tuesday to Sunday from 7.30 pm to 11 pm
Veghometro
Back to innovation and tradition in a restaurant, Veghometro is one of the vegan restaurants in Rome to experience. Mediterranean cuisine, with the use of organic and – where possible – zero-km products, they have created one of the best vegan restaurants in Rome. Situated in Ostiense quarter of Rome, they offer a full menu: from starters, to mains, second courses, sides and dessert, everything cruelty-free and connected to Roman traditions. Prices are average, and portions are quite generous, too. They have Pinsa!!

Where: Ostiense area | Via del Gazometro, 38, 00142 Roma RM
When: Every day from 6 pm to 11.30 pm
Il Margutta
If you are a vegan in Rome, you need to try il Margutta: the first vegetarian Restaurant in Italy, born in 1979. Yes, vegetarian, but if you go and check their menu, most of the options are either vegan or can be done vegan. Do you want to have a more “fine dining” experience of unbelievably tasty food? This is the restaurant you want to be. Freshly baked bread, three tasting menu, Sunday brunch and aperitivo, seasonal products and whenever possible from their personal vegetable garden: I think this is so good!

The atmosphere here is warm, service is professional, and the food is tasty and well thought. Il Margutta restaurant has a big passion for Art too, they host monthly exhibitions that will delight your experience even more.
Where: City centre, Piazza del Popolo area | Via Margutta, 118, 00187 Roma RM
When: Every day from 11 am to 11 pm
Misticanza – osteria della terra
Because two is better than one, here is another vegetarian “fine dining” restaurant in Rome. Misticanza is a vegetarian with more than half the menu being vegan and gluten free. The main focus here is seasonal ingredients, and from their vegetable garden. Details are the key at Misticanza, to have a sophisticated yet simple menu. You have to try it if you are a vegan in Rome who want to have an unforgettable experience. You will love it!
Where: Appio Latino area | Via Cesare Baronio, 179, 00179 Roma RM
When: Tuesday to Friday from 7.30 pm to 10.30 pm, Saturday 12.30, 2.30 pm 7.30, 10.30 pm, Sunday 12.30, 2.30 pm
Fermaggio Bistro & Store
Are you looking for a laid back place, somewhere to get your sandwich and go to Villa Pamphili on the grass and eat it, or perhaps to eat it during your sightseeing of Rome? Fermaggio Bistro is the place for you.
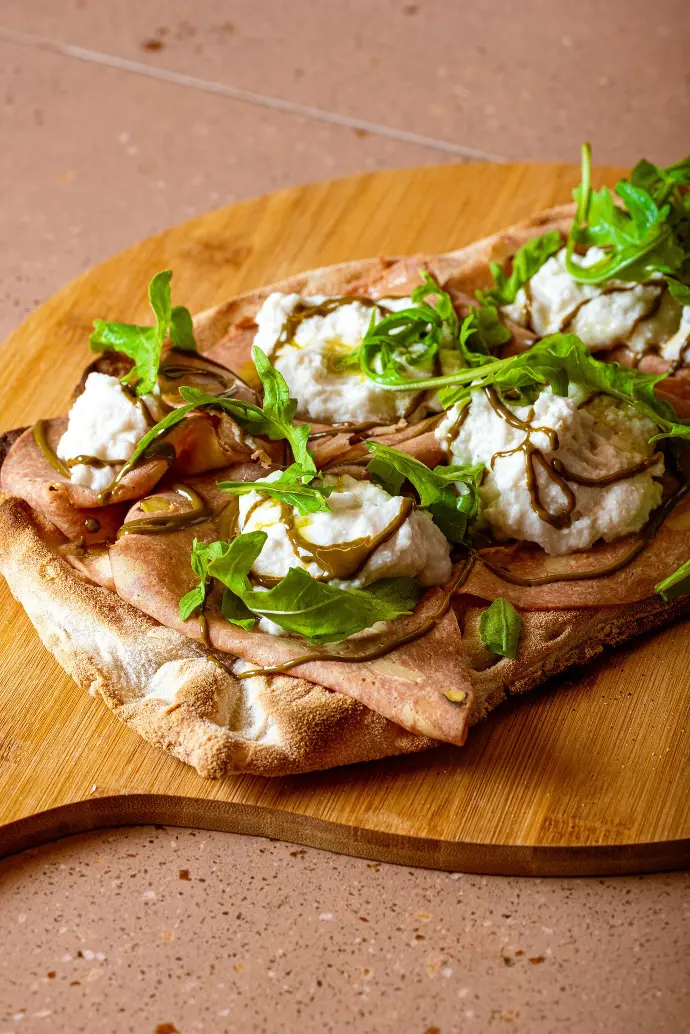
Fermaggio started as an Italian Vegan creamery, one of the first in Italy, to create many kinds of vegan cheese. Their main store and laboratory is only 40 km from Rome, finally in 2024 Fermaggio opened their Bistro in the heart of Rome. The vegan creamery & charcuterie has a good size menu, that includes staffed Pizza bianca, sandwiches, tosties and mix boards with cheese and cured meat, everything vegan! Trust me, go there and get a takeaway Pizza Straccella, it’s stuffed with vegan mortadella, rocket, organic pistachio cream and their homemade Straccella cheese. After eating this, you can say you really tasted Rome.
Where: Piazza Fiume area | Via Bergamo, 27, 00198 Roma RM
When: Monday to Saturday from 9.30 am to 8.30 pm, and Sunday from 10 am to 4 pm
These were my top 10 vegan restaurants in Rome. To eat like a local, even as a vegan and fully experience Rome as an eternal city and as a culinary paradise! Since you are around Rome, you can also try: Aromaticus in Trastevere, Grezzo Raw Chocolate a gelato and bakery shop, Flower burger, and Mrgda Vegano an Ethiopian restaurant.
I hope this post was helpful for your visit in Rome, and if you have questions or suggestions about your experience, I will be happy to read your comment. Ciao belli!